

We share verified earning schemes daily on Telegram.
In our Telegram channel, you'll find crypto signals, insider info on HYIPs, combo deals for tappers, and coin giveaways. Only verified earning methods without fluff.
A physical device with data encryption allows you to store coins in the most secure way. A hardware wallet is suitable for those who work with large amounts, make frequent transactions, or plan to store cryptocurrencies long-term. There are many options on the market that compete with Trezor.
In this article, we will evaluate the main advantages and disadvantages of the Trezor hardware wallet. We will look at purchasing, initial setup, and further usage.
How to Buy the Device
For many crypto holders, Trezor is the preferred choice—you can buy it in several ways. The devices are manufactured by SatoshiLabs, a company based in the Czech Republic. You can purchase the wallet from the official online store. This allows you to:
- purchase an original device;
- choose accessories from the manufacturer;
- get a secure wallet that has not been tampered with by malicious actors;
- buy a crypto wallet with delivery.
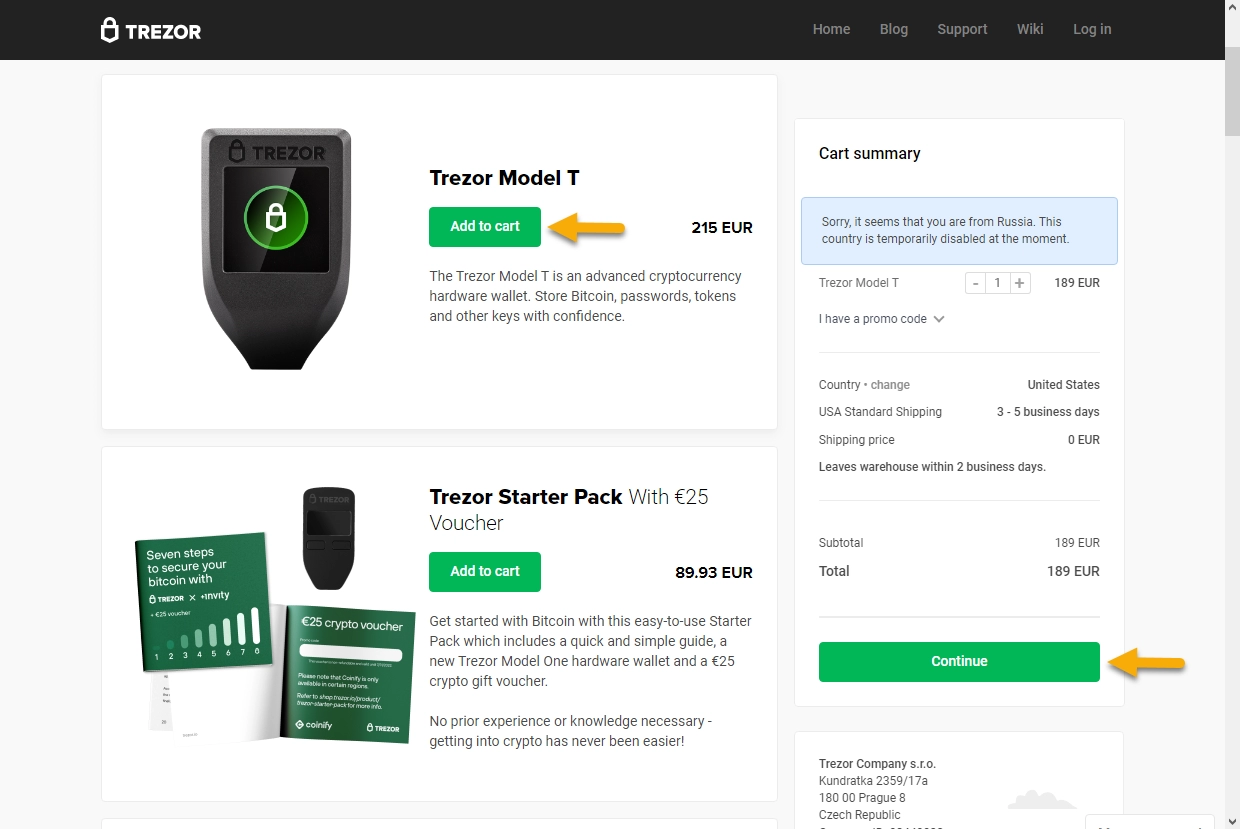
To make a purchase, go to this link — 👉 https://shop.trezor.io. Then add the wallet you like to your cart and place your order.
Purchasing directly from the manufacturer helps you avoid problems, as there have been cases where crypto holders bought counterfeit wallets from third-party stores. You can spot a fake by:
- poor quality hologram;
- low-quality device packaging.
You can verify authenticity by contacting Trezor support; a specialist will handle your case individually. To be fair, third-party stores also often sell genuine products. Such purchases are usually cheaper, but you should always check the authenticity of the product you receive. You can also buy a wallet second-hand, but you must flash it with the original firmware to fully erase all data from the previous owner.
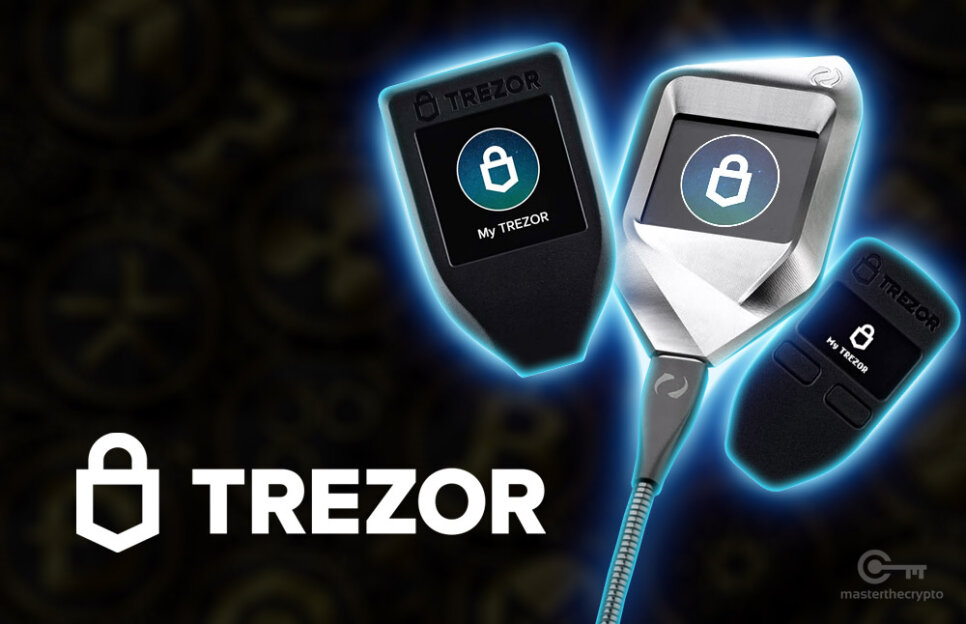
Trezor Wallet Models
The lineup includes only two devices. Trezor One is a long-standing market player, with the first generation released back in 2013. The company plans to discontinue Trezor One soon. A SatoshiLabs representative noted that all Trezor One users will be notified a year in advance before support is discontinued. However, the device is still actively sold and is considered the basic model. The flagship device is the Trezor Model T. Let's look at the main features of these hardware wallets.
Trezor One has a small monochrome display and supports about 1,000 tokens. The wallet comes in a white or black case. It is powered by a modest Cortex M3 processor, and there is no battery for autonomous operation. Control is via two physical buttons. Even the budget Trezor model does not require you to install multiple apps, unlike Ledger. This model is most relevant for beginners just starting to explore the crypto world.
Trezor Model T is considered an advanced crypto wallet. The hardware wallet resembles a smartphone in use—a large color touchscreen is operated by finger, and memory can be expanded with a micro-SD card. The new Cortex M4 processor makes operation smoother, and the updated firmware expands the list of supported tokens.
Currently, the device supports all tokens supported by Trezor One. Only the Trezor Model T in the lineup can work with some additional coins, including:
- Cardano;
- Ripple;
- Monero;
- EOS;
- Tezos.
In total, the wallet allows you to work with 1,816 coins. The device connects via a USB-C port. There is no built-in battery, so the wallet cannot operate autonomously. Bluetooth is also absent; according to the creators, wireless connectivity is an extra vulnerability, so the wallet works with a PC or smartphone only via cable.
Trezor — Activation and Getting Started
If you have already purchased the wallet, proceed to setup. Visit the official company website and go to the section containing the required application.
First, select your operating system. To start the download, click the green button in the center of the screen. Open the downloaded file and install the application on your computer.
There is also an alternative option—using the browser, so you don't need to install the app. Chrome or Firefox is required for this. The start button is in the top right corner of the screen.
With either option, you will see a welcome screen. Next, connect the wallet to your computer using the included cable.
Then select your device. We will use Trezor One as an example, but the process is similar for both models.
Next, you need to install the firmware. This allows SatoshiLabs to identify you as a user with a genuine device. Click the green button on the screen. The site may ask you to disconnect and reconnect the device.
The program will offer to create a new wallet or restore an existing one. For restoration, you will need the 24-word recovery phrase for your existing wallet. Choose “Create wallet.”
Great! You have created a wallet and now have access to the main screen to manage your assets. Now you need to create a seed phrase. Proceed to backup creation.
The system will inform you that the seed phrase is shown only once. It must not be stored on your computer as a screenshot, text file, or online. Write the phrase on the sheet included with the wallet. Read the warning on the screen, check the box, and click “Continue.”
The device will display the 24 words one by one. Do not disconnect the device from your PC and carefully write down each word.
Next, the program will prompt you to create a PIN. Enter the numbers directly on the wallet. Set the PIN and confirm.
The initial setup is almost complete. Store your seed phrase securely and write down your PIN nearby. These details must be securely stored for many years. Click “Finish.”
Next, let's look at making basic transactions and token exchanges.
Receiving Coins to the Trezor Wallet
One of the main advantages is that the device generates wallet addresses automatically, and all necessary apps are already installed. Therefore, you can top up your wallet without any hassle. There are two main options: buy crypto for fiat or receive a transfer from another network participant.
Buying coins requires the following steps:
- Open the “Buy” section at the top of the screen.
- Enter the amount of fiat money to be debited from your card for the crypto purchase.
- Review the offer from the exchange partner working with Trezor. Usually, the fee is already included in the final amount of coins to be credited.
- Confirm the wallet for deposit (on the hardware device), making sure to check the address.
- Complete the action.
A payment form for your bank card will then appear. The process is no different from a regular online purchase.
An alternative option is a transfer to the wallet. To do this, open the “Receive” tab at the top of the screen.
- Copy the wallet address for the required coin;
- or scan the QR code using a mobile wallet app.
Send the address to a friend or transfer coins from your mobile. Done, your wallet is funded!
Trezor Hardware Wallet — How to Withdraw Funds
The hardware wallet allows you to easily send tokens to another network participant. Here’s how it works:
- Open the “Send” section.
- Select the coin.
- Enter the recipient’s address, or click the QR code icon in this field to select an image from your device’s hard drive.
- Enter the amount in cryptocurrency or its fiat equivalent.
- Set the network fee—this is for advanced users. The higher the fee, the faster the transfer will be processed.
- Confirm the transfer on the hardware wallet.
- After entering all the details, a “Send” button will appear—click it.
Withdrawal from the Trezor wallet is complete.
Trezor Exchange Service
You can exchange one token for another directly in the application. This helps avoid various intermediaries whose services can be expensive and unreliable. The exchange works as follows:
- Open the relevant section.
- Select the coin you have. Enter the number of tokens (can be in dollars).
- Set the network fee.
- Select the coin you want to receive.
- Get an offer from trusted exchanges and review it. If the deal suits you, click the green button next to it. Confirm the exchange on your Trezor device.
Trezor — Pros and Cons
Currently, Trezor sells only two models. They are quite similar, so let's highlight the common pros and cons. The following positive aspects can be noted:
- the highest level of security—the wallet has never been hacked;
- support for a large number of cryptocurrencies (even on the budget model);
- regular firmware updates, excellent user support;
- larger screen compared to Ledger, with a touchscreen version available;
- no need to create individual wallets for each cryptocurrency or install numerous apps;
- the advanced model is perfect for coins with heavy blockchains, such as Monero and ZCash;
- simple and intuitive interface, easy setup.
Disadvantages:
- the wallet is not suitable for those who value mobility—the device does not have wireless connectivity or a built-in battery;
- cost—a relative drawback, as the one-time purchase is usually justified by reliable and secure storage;
- plastic casing—the device feels fragile and lacks durability;
- the seed phrase can be compromised by phishing software, and there are many high-quality counterfeits on the market.
Trezor is an excellent wallet with an intuitive interface. Even if you connect it to an infected computer, your private keys will remain completely safe. This device is optimal for both beginners and experienced crypto investors. The only significant drawback is the mobility limitation that comes with the purchase.
Advertising

Our Contacts
Investment portfolio
-
 mooner.pro Review100 Our deposit
 -
 aitimart.com Review300 Our deposit
Test projects
-
 agronomist-x.com Review300 Our deposit
 -
 taxi-money.info Review3150 Our deposit
Comments

ID операции: 2827318 Дата операции: 19.08.2025 05:32 Сумма: 0.2 USD Примечание: Payment..

Внимание! Важная информация, особенно для старых пользователей, у кого уже давно аккаунты..
✅ Получили новую выплату с проекта AitiMart +200$..
✅ Получили новую выплату +200$ ..
Спасибо большое Ричи за рефбек! ..
Advertising
Information
Users of Гости are not allowed to comment this publication.